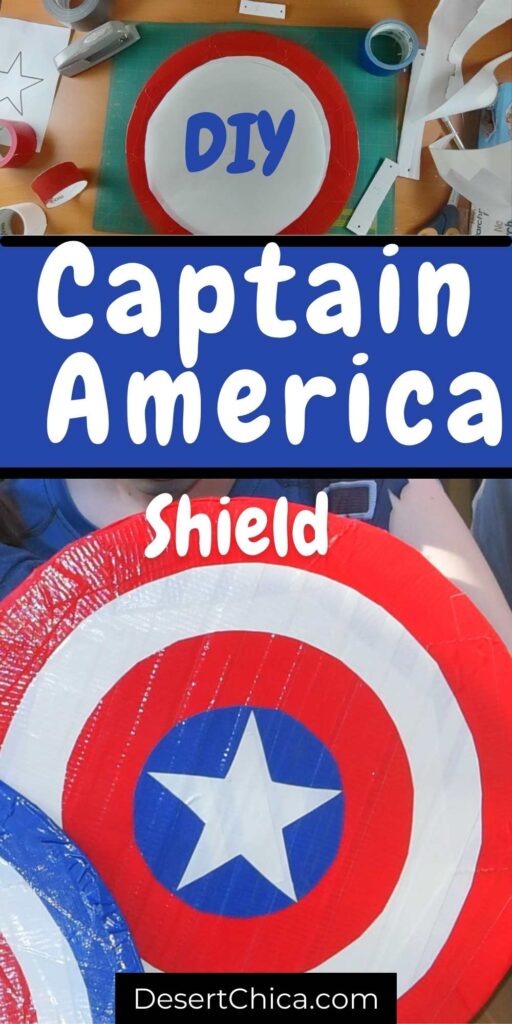
How to Make a Captain America Shield Easy From Out of Paper
Want to make a Captain America shield for kids (or even adults)? I have a couple of different ways to do it, both include my favorite craft staple, duct tape!
Almost everyone loves Captain America, the first Avenger is a Marvel fan favorite for sure. When you think about Cap what is the first thing that comes to mind? For me it's Cap's shield.
Two Captain America Shield Tutorials
Every Captain America super fan needs to know to make a shield. Check out these simple DIY Captain America shield for kids (or adults) tutorials. We made the original shield using a frisbee when my kids were very little, scroll down to the bottom of the post to see how we did it.
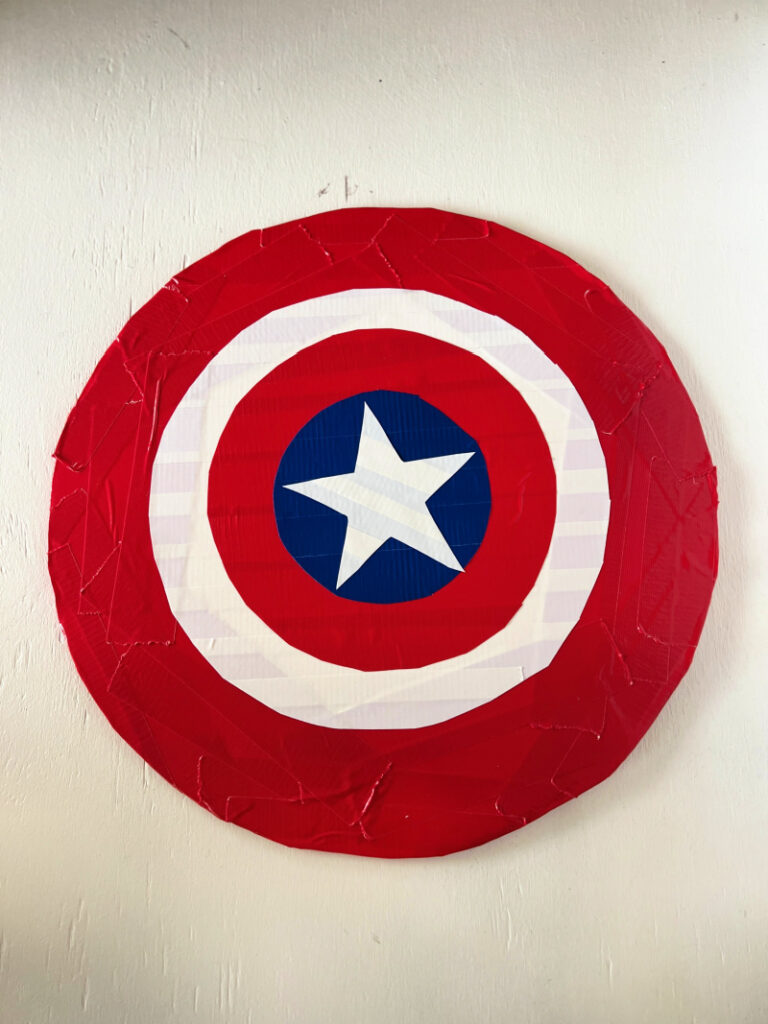
This first tutorial is one we made this year for the Zombie Captain America costume. It uses poster board and duct tape and is much larger than a frisbee. Steve Rogers iconic shield is on the larger side.
18″ Captain America Shield Tutorial
This shield (the size used in the how-to and also video) is based on making an 18″ inch Captain America shield. This size could be increased if you had bigger poster board, and also sized down if you want.
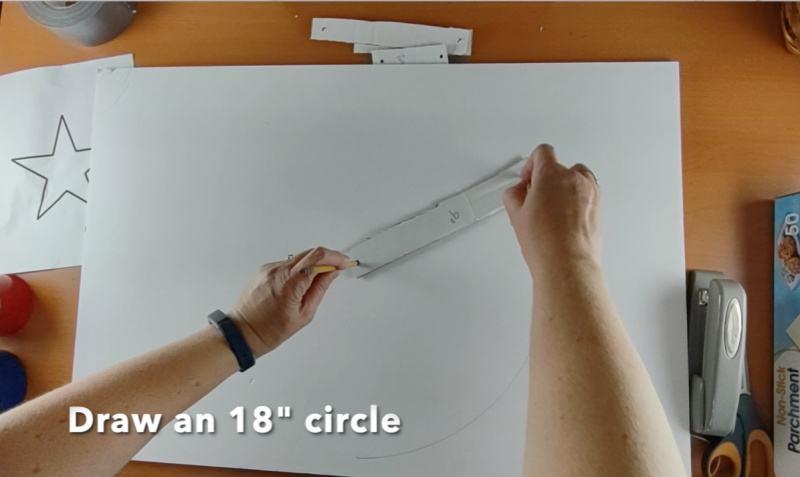
Start by spray painting the back of the poster board gray. This is an optional step but it's what I did. Then draw an 18″ circle on the poster board.
The best way to do this is to make make a cardboard guide with 9″ between two pencil sized holes. This can act as a compass to draw a perfect circle. You could use string too but I found that much more difficult.
Cut out the circle, this is the base of the shield. Now draw a a 14″ circle on your shield using the same trick as before, only this time there should be 7″ between your pencil holes on your cardboard guide.
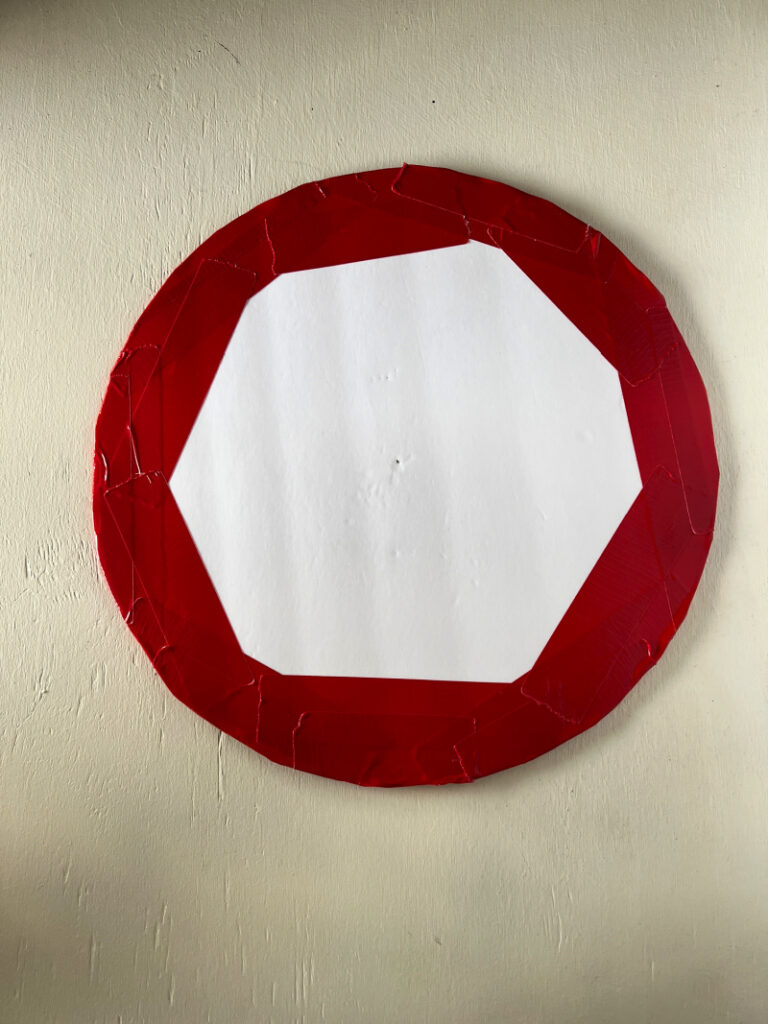
Add strips of red duct tape around the edge of the shield, making sure you cover the 14″ circle. It's ok to go past the circle, the next step will fix any red over the circle.
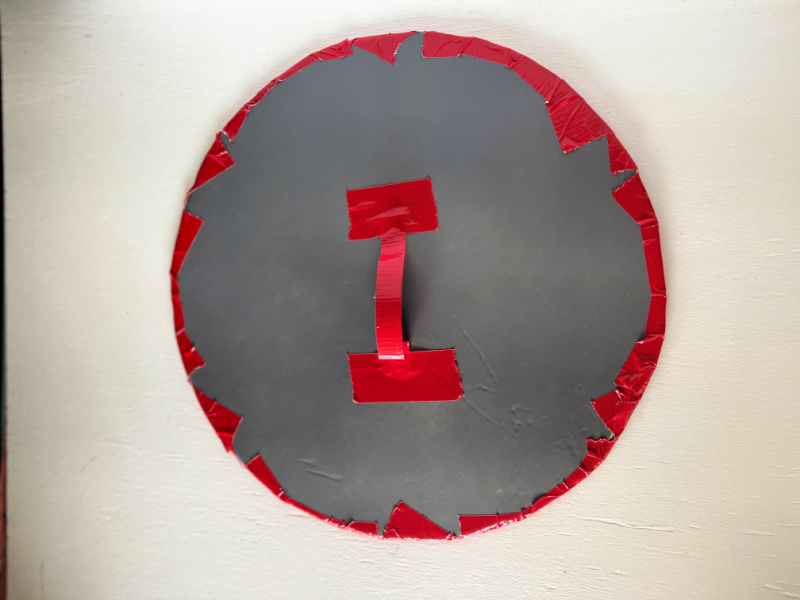
Add a Handle to the back of the shield
Turn the shield over and add a handle to the back. Use a strip of duct tape about 6-7 inches long and found it in half lengthwise. Then staple the ends to the back of the shield, making sure there is slack in the center so it forms a handle. Then add extra duct tape to secure it.
Add a White Circle to the Shield
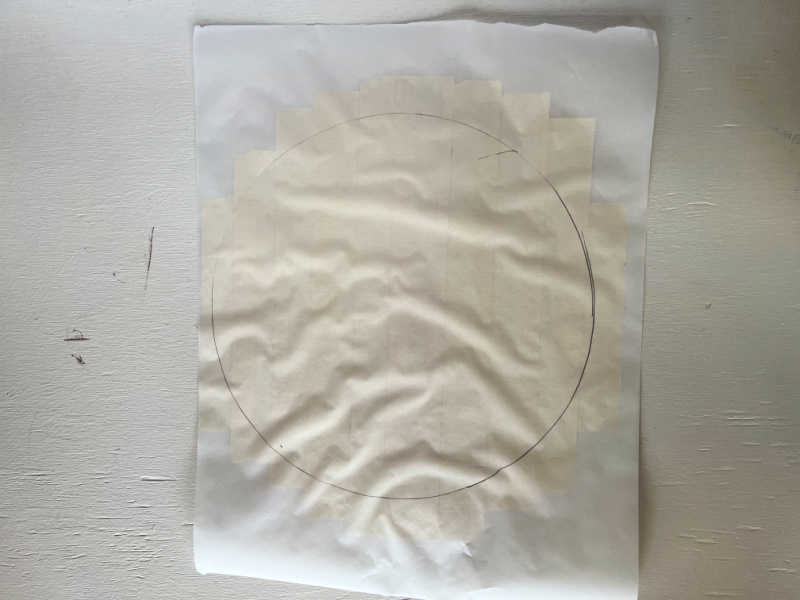
Use the 7″ cardboard guide to draw a 14″ circle on a piece of parchment paper. Turn the paper over and cover the circle with strips of white duct tape, slightly overlapping each strip. Be sure the entire circle is covered up. Then turn it over and cut out the circle. Place the white circle on the center of the shield.
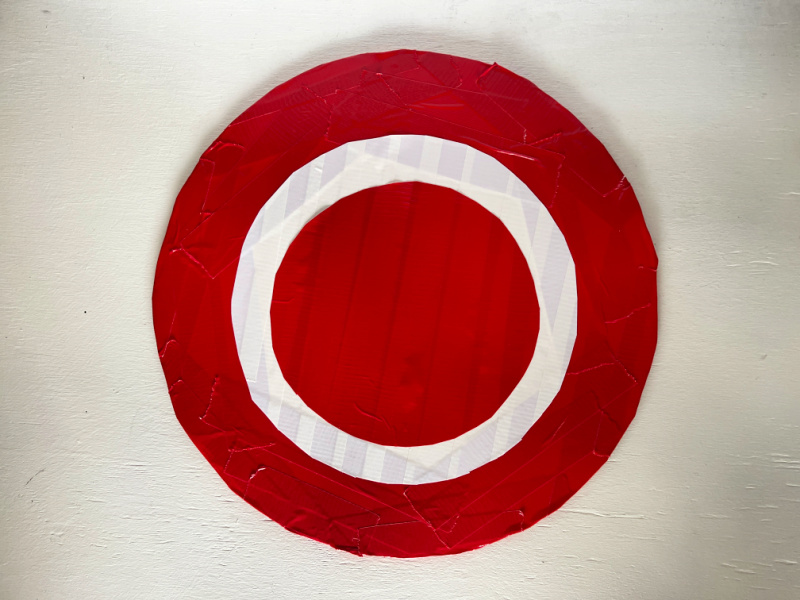
Add a Red Circle to the Shield
Use the 5″ cardboard guide to draw a 10″ circle on a piece of parchment paper. Turn the paper over and cover the circle with strips of red duct tape, slightly overlapping each strip. Be sure the entire circle is covered up. Then turn it over and cut out the circle. Place the red circle on the center of the shield.
Add a Blue Circle to the Shield
Use the 3″ cardboard guide to draw a 6″ circle on a piece of parchment paper. Turn the paper over and cover the circle with strips of blue duct tape, slightly overlapping each strip. Be sure the entire circle is covered up. Then turn it over and cut out the circle. Place the blue circle on the center of the shield.
Add a White Star to the Shield
Draw a 6″ star (so it fits exactly into the blue circle) on parchment paper. Turn over the paper and cover the star with strips of white duct tape, slightly overlapping each strip. Be sure the entire back of the star is covered up. Then turn it over and cut out the star. Place the white star on the center of the shield.
Finish the shield back (optional)
If you'd like the back of the shield to be gray, then I suggest spray painting it gray first before you start this project. Then you can add strip of gray duct tape to clean up any red …. Or you could just cover the entire back with strips of gray duct tape. That's what I did for my Captain Carter Shield.
This shield is also a great addition for a Winter Solder, Bucky Barnes costume (like we did for our Marvel What If costumes) or Sam Wilson (the new Captain America) costume.
Check out the step by step tutorial to make an Avenger Captain America Shield below:
Materials
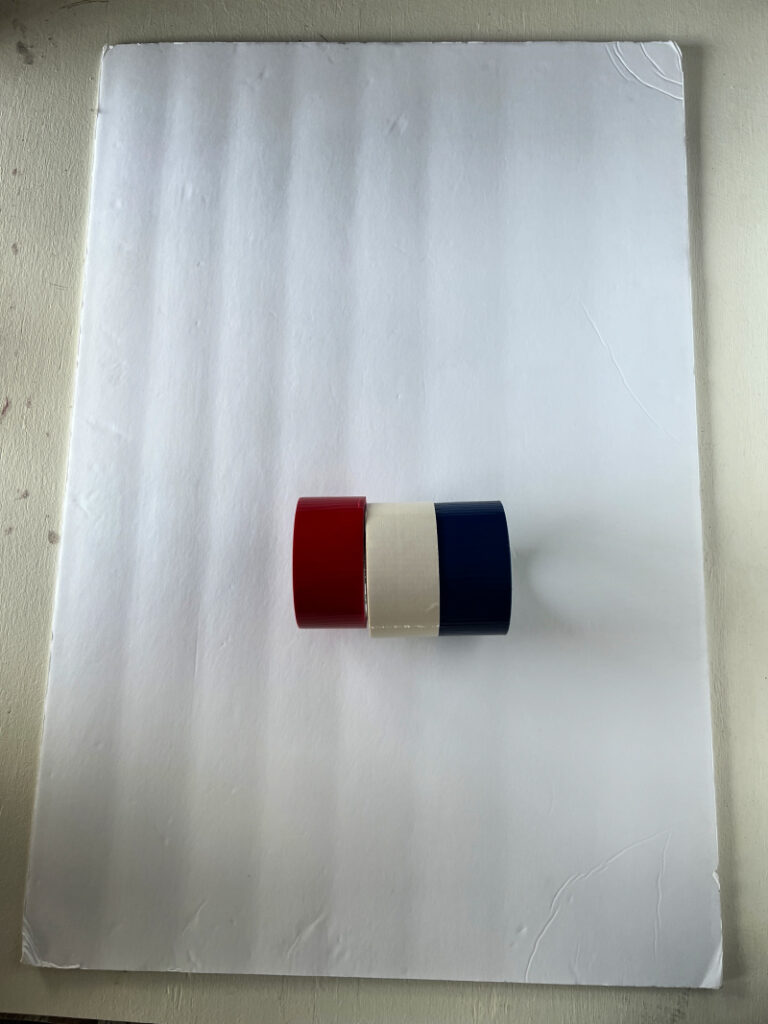
- Red Duct Tape
- White Duct Tape
- Blue Duct Tape
- Poster Board
- Gray Duct Tape (optional)
- Gray Spray Paint (optional)
Tools
- Stapler
- Scissors
- Parchment Paper
- Craft Knife
Notes
The back of the shield should be silver. You can spray paint the poster board before starting this project (like I did for this shield) or cover the back with regular duct tape after you are done (like I did for my Captain Carter Shield)
Captain America Shield – Frisbee Version
This is an easy project and if your child does ok with scissors (i.e. can safely cut relatively straight lines), then they can definitely make their own Captain America shield for themselves. It's the perfect addition to a Captain America kids costume.

Captain America Shield For Kids Supplies
- Red Frisbee
- Red, White and Blue Duct Tape
- Parchment Paper
I bought 2 red frisbees at the dollar store. I love duct tape, so I already had red, white and blue duct tape at home. I personally don't recommend generic duct tape, it doesn't cut as well.
How to Make a Captain America Shield
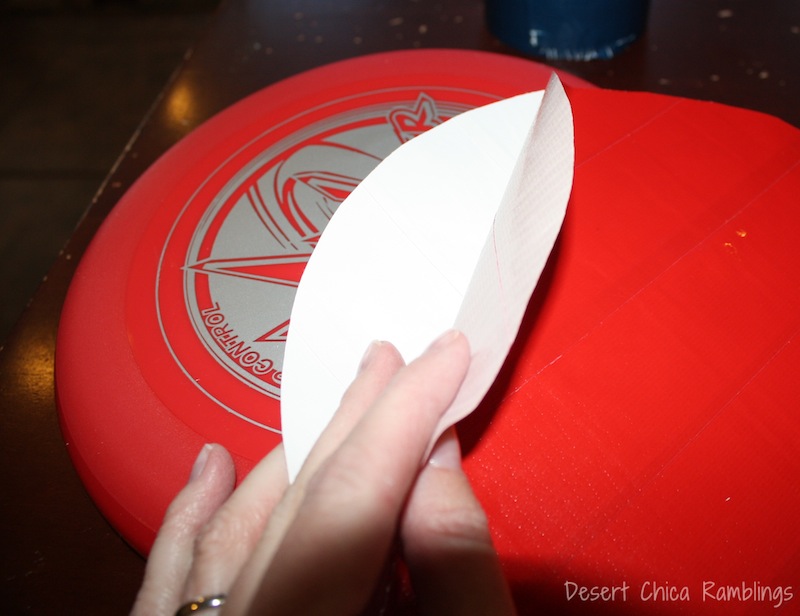
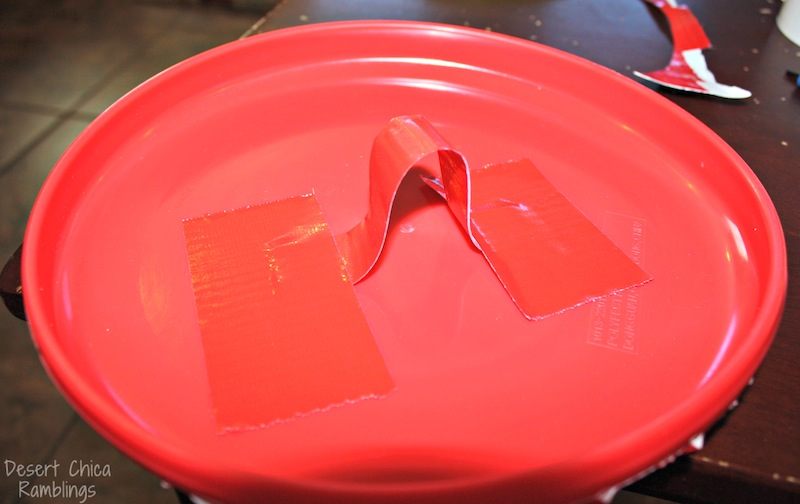
If you have a plain red frisbee to start with than you can skip the first round layer of red duct tape. If your frisbee is like mine, then you will need a circle of red duct tape to cover up the frisbee graphic.
Start by drawing your various circle on parchment paper to make cutting the duct tape feasible. Captain America's shield has an outer red ring (the largest circle), followed by white, red and then blue. I found various bowls, lids, duct tape rolls, etc around the house to use as circle templates.
Once you've traced the different sized circles. Add strips of duct tape to the back, slightly overlapping so that it fills in the entire circle design.
Now you can flip the parchment paper over and cut around the circle you drew. Do this for each circular layer. The duct tape will peel easily off the parchment paper.

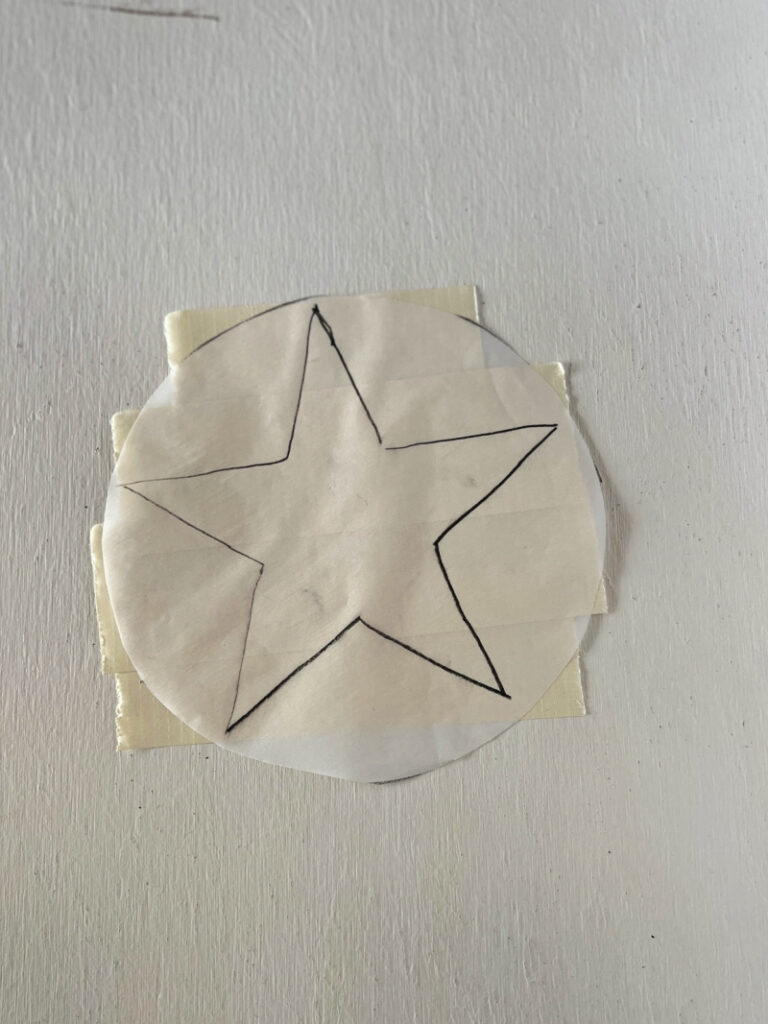
Captain America Shield Template
I didn't have anything to use for a star template, so I printed the star shape, like the graphic above. You could also just free hand draw the star design on parchment paper I just can't draw anything well without tracing. 🙂
It was less stressful to just trace the star instead. Make sure you use white duct tape to create your star design.
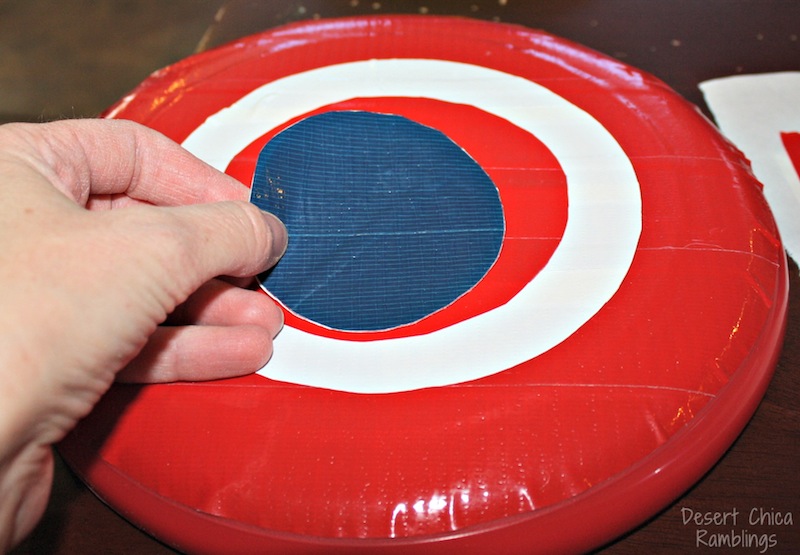
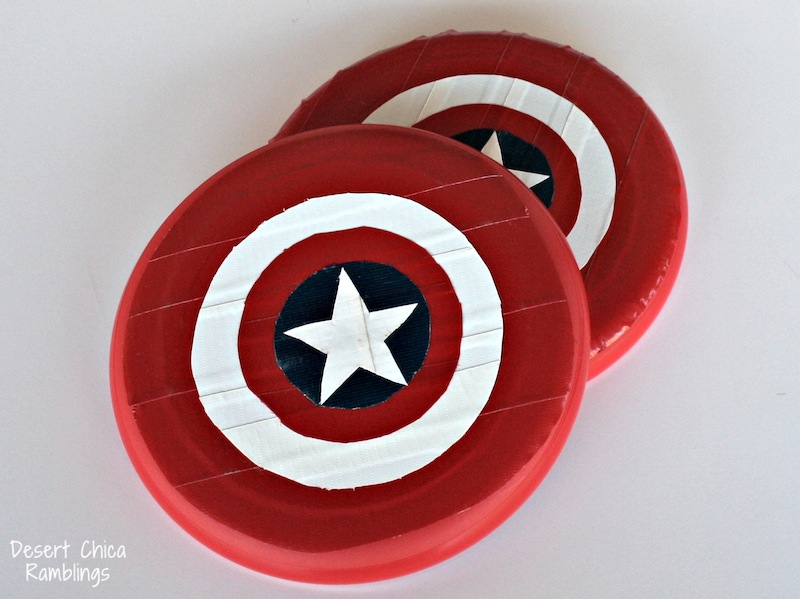
Now layer each piece of duct tape on your frisbee to create your Captain America shield. Place the white star at the center of the shield.
The last step is to add a handle. Instead of cutting small holes in the shield for a handle, we created it using more red duct tape. Start by folding a longer piece of duct tape in half, lengthwise. Then tape each end of the strap to the back of the shield.
How's that for an easy DIY Captain America Shield? Skip painting the shield, no messy spray paint involved, just duct tape and a frisbee.
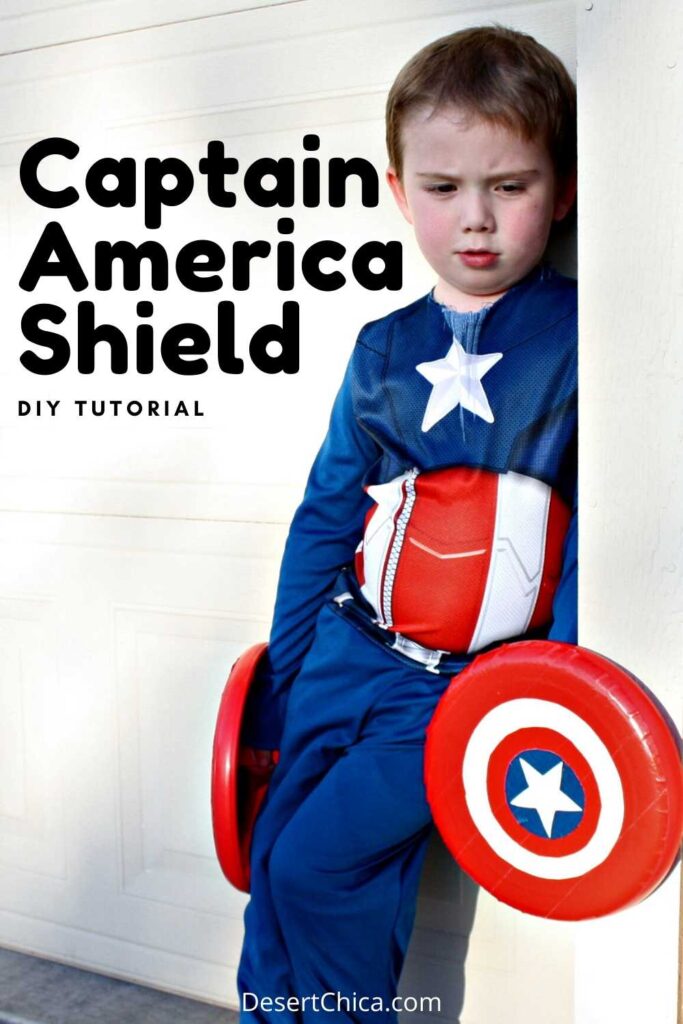
This was the perfect craft for Elliot because the costume he received at Christmas didn't have a Captain America shield. Now he's ready to throw his shield and battle Thanos! 😉
Captain America Shield for Teens & Tweens
You can also make a Captain America shield for a Winter Soldier or Sam Wilson Falcon costume. They both carry Cap's shield in different situations within Marvel Comics
I made a large Captain Carter shield for my What If Captain Carter Costume and realized it would be a perfect way to make a bigger Captain America shield as well.
And if you read all of this and don't want to craft a shield, don't forget you can always just spend some money and buy an officially licensed one. But what's the fun in that?
More Captain America Ideas
Looking for more Captain America fun for your kids? Check out these other Captain American ideas below:
- Zombie Captain America Costume
- Captain America Mask Craft
- More Captain America Party Ideas (with coloring pages)
- Captain Carter Costume
This post was originally published April 5, 2014.
Source: https://desertchica.com/diy-captain-america-shield-activities/